
In a world where gaming is as serious as rocket science, connecting your Lenovo Legion Go to a monitor shouldn’t feel like deciphering an ancient scroll. Whether you’re looking to unleash your gaming prowess on a larger screen or simply want to show off your epic skills to friends, it’s time to make that connection.
Overview of Lenovo Legion Go
Lenovo Legion Go represents a notable entry in the portable gaming device market. This handheld console boasts powerful hardware, designed to deliver an exceptional gaming experience. Equipped with a high-performance processor and vibrant display, it supports various gaming titles effortlessly, appealing to both casual and hardcore gamers.
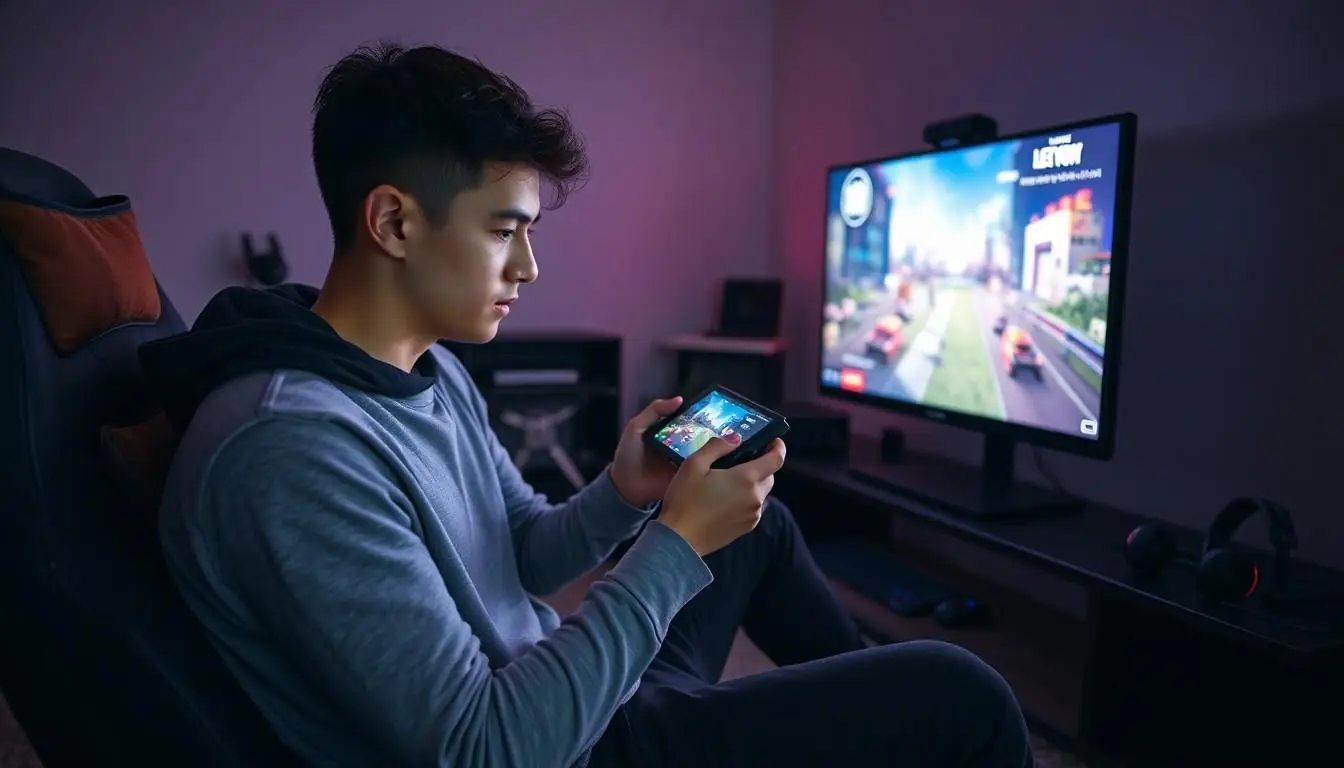
Connectivity options play a vital role in its functionality. Users find multiple ports available, providing flexibility for connecting external devices like monitors and controllers. The device allows for smooth gameplay, whether played solo or shared with friends on a larger screen. Displaying games on a monitor enhances visuals and brings a more immersive experience.
Features such as a user-friendly interface and customizable controls elevate accessibility. Built-in software optimizes graphics and performance, ensuring seamless gameplay transitions. Gamers appreciate the device’s lightweight design, making it easy to transport while traveling.
Battery life stands out as another strong point. Players can enjoy extended sessions without frequent recharging interruptions. Additionally, compatibility with various gaming platforms further broadens its usability.
Overall, Lenovo Legion Go caters to gaming enthusiasts who value convenience and performance. The combination of its rich features and connectivity options positions it as a suitable choice for those looking to enhance their gaming experience by connecting to a monitor.
Required Cables and Adapters
Connecting a Lenovo Legion Go to a monitor requires specific cables and adapters for optimal performance. The right accessories ensure a seamless gaming experience.
HDMI Connections
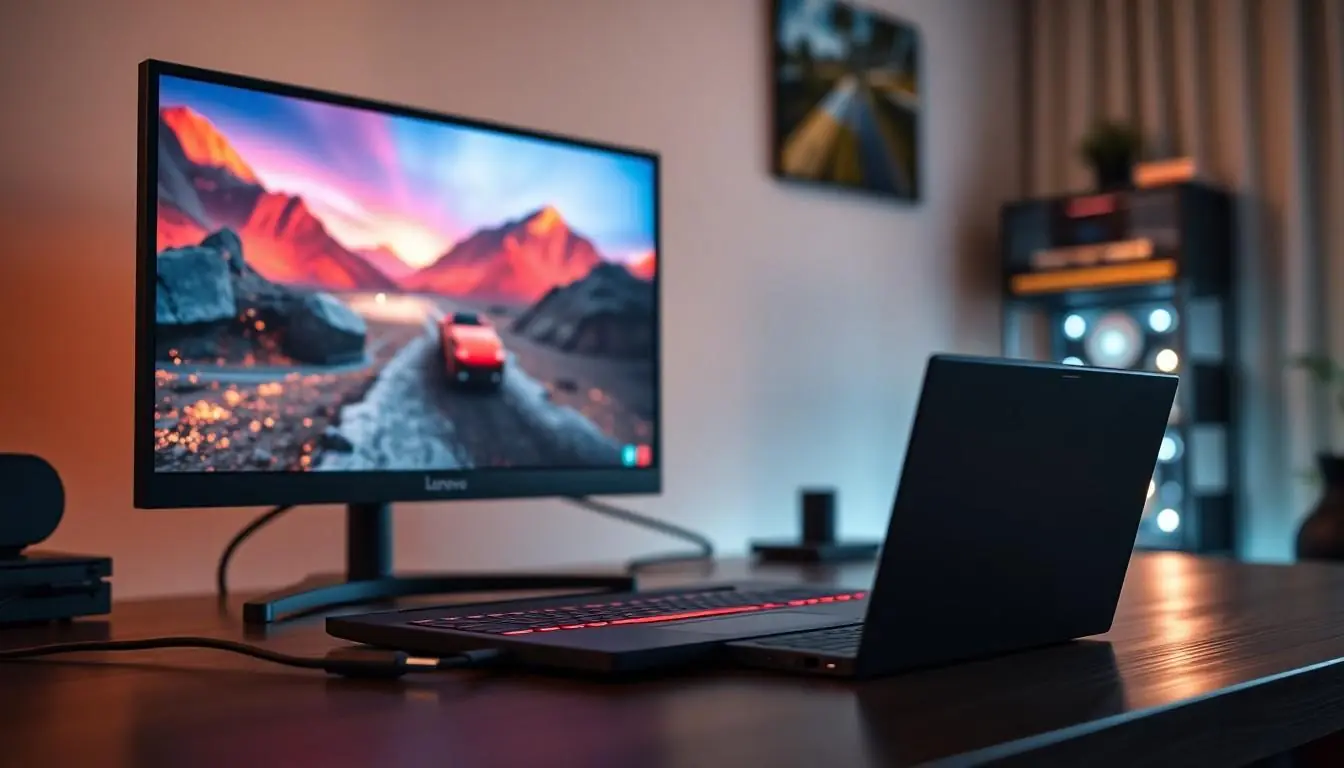
HDMI connections provide a reliable option for linking the Lenovo Legion Go to a monitor. Many modern monitors feature HDMI ports, making it a commonly used standard. Obtain a compatible HDMI cable to connect the device directly to the monitor. Some monitors might support multiple HDMI inputs, allowing for quick switching between devices. The high-definition capabilities of HDMI deliver sharp visuals, enhancing the overall gaming experience.
USB-C Connections
USB-C connections offer versatility when connecting the Lenovo Legion Go to a monitor. This type of connection supports video output, enabling high-resolution displays. Use a USB-C to HDMI adapter for monitors without a direct USB-C input. Players benefit from the fast data transfer rates associated with USB-C, ensuring low latency during gaming sessions. It’s common for newer monitors to include USB-C ports, providing additional convenience for gamers.
Step-by-Step Guide
Connecting a Lenovo Legion Go to a monitor enhances the gaming experience. Follow these steps for a seamless setup.
Connecting via HDMI
Start by locating an HDMI cable. Connect one end of the cable to the HDMI port on the Lenovo Legion Go. Next, plug the other end into the HDMI input on the monitor. Power on both devices. After this, ensure that the monitor is set to the correct input source. The display should automatically detect the Legion Go and project the visuals accordingly, enabling high-definition graphics and smooth gameplay.
Connecting via USB-C
Identify a USB-C cable compatible with the Lenovo Legion Go. Insert one end into the USB-C port on the device. The other end should be connected to the monitor’s USB-C input or to an adapter if necessary. Power on both the Legion Go and the monitor. Set the monitor input to USB-C if it doesn’t switch automatically. This connection supports high-definition visuals and offers fast data transfer rates, ideal for low-latency gaming.
Troubleshooting Connection Issues
Connection issues can arise when setting up the Lenovo Legion Go with a monitor. Identifying and resolving these problems quickly ensures an optimal gaming experience.
Common Problems and Solutions
The display may not appear after connecting. First, ensure the cable is securely connected to both the Lenovo Legion Go and the monitor. Incompatible resolution settings often lead to display issues; adjusting the resolution in the settings can help. Sometimes, switching the input source on the monitor resolves visibility problems. If the device remains unresponsive, restarting both the monitor and the Lenovo Legion Go frequently fixes the issue.
Additional Tips
When troubleshooting, checking for firmware updates can enhance compatibility. Keeping the monitor drivers up to date may also prevent connection issues. Using high-quality cables often improves signal stability. Testing the device with another monitor confirms whether the problem lies with the monitor or the gaming device. Lastly, ensuring the Lenovo Legion Go’s battery is charged helps avoid unexpected power-related disconnections.
Conclusion
Connecting a Lenovo Legion Go to a monitor opens up a world of enhanced gaming experiences. With the right cables and a few simple steps users can easily enjoy their favorite games on a larger screen. This portable gaming device not only delivers impressive performance but also offers versatility with multiple connectivity options.
Troubleshooting any potential issues is straightforward thanks to the guidance provided. By following the outlined steps and tips users can maximize their gaming setup and enjoy seamless gameplay. The Lenovo Legion Go truly stands out in the gaming landscape making it a smart choice for both solo and shared gaming sessions.